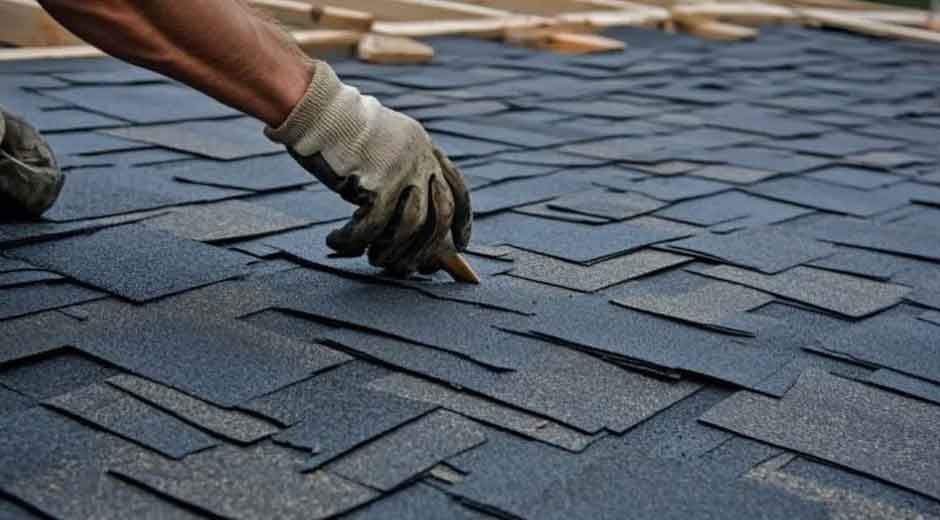
Asphalt shingle roofing is one of the most popular choices for homeowners in Tallahassee. It’s reliable, budget-friendly, and lasts for years with the right care. If your roof is aging or damaged, you may be thinking about replacing it with fresh asphalt shingles. But many homeowners don’t fully understand what happens during the installation process.
To ensure a successful project, many people choose to work with trusted roofers in Tallahassee. Having professionals handle the job means your roof will be installed correctly and safely. This article will guide you through each stage of the asphalt shingle installation process, so you’ll know exactly what to expect from beginning to end.
Prepping the Roof for Installation
Before any shingles are installed, the crew will prepare the surface. This step is crucial because it forms the base for the entire roofing process. Old shingles, nails, and underlayment are removed so the deck beneath can be inspected. If the decking has water damage or rot, it must be repaired or replaced.
Once the deck is solid and clean, an underlayment is added. This layer provides extra protection against moisture and leaks. It’s usually made from felt or synthetic material and rolled out across the entire roof. With the base ready, the team marks key guidelines to ensure straight shingle placement.
Installing Flashing and Starter Shingles
Next, roofers in Tallahassee focus on areas that are more prone to leaks, such as valleys, chimneys, and edges. Flashing is installed in these spots to direct water away from the seams. This step helps prevent water damage over time. After the flashing is secure, the crew installs the starter strip shingles. These go along the edges and eaves of the roof and serve two purposes. They help prevent wind from lifting the shingles and create a clean, even base for the rows that follow.
Laying Down the Shingles
With preparation complete, the main installation begins. Asphalt shingles are installed from the bottom edge of the roof and move upward. Each row overlaps the one below it to keep water flowing off the surface instead of seeping underneath.
Here’s how the team usually handles it:
- Measure and snap chalk lines for straight alignment
- Nail each shingle according to the manufacturer’s instructions.
- Overlap rows for water resistance.
- Trim shingles at roof edges or around vents.
This process repeats until the entire roof is covered. Depending on roof size and weather, this can take one to three days.
Adding Ridge Caps and Final Touches
Once the field shingles are in place, roofers install ridge cap shingles along the roof’s peak. These caps cover the joints and give the roof a polished look. They also protect one of the most exposed parts of the roof from wind and rain. The final step includes sealing exposed nails, cleaning up debris, and inspecting the entire roof. Good roofers will walk around the home, use a magnet to pick up stray nails, and make sure everything is secure.
Cleaning Up and Final Checks
A responsible crew in Tallahassee doesn’t just pack up and leave. They’ll clean the area thoroughly and check the work with the homeowner. This final walk-through ensures the installation meets both safety and quality standards. Reliable roofers understand the importance of leaving your home better than they found it. You can expect your property to be cleared of all roofing materials, with your landscaping and walkways left untouched.
Installing an asphalt shingle roof in Tallahassee is more than just laying down materials. It’s a carefully planned process that involves skill, timing, and attention to detail. Choosing trusted roofers in Tallahassee can make all the difference in how well your new roof performs over time. A well-installed asphalt roof protects your home, adds value, and keeps you safe for years.
